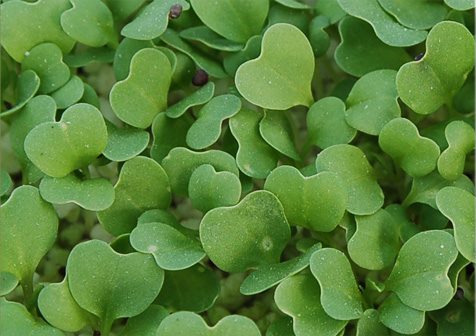
Microgreens
Similar to sprouts, microgreens are a concentrated nutrient source and are packed with beneficial enzymes. Sometimes the terms sprouts and microgreens are used interchangeably, but there are some key differences. Sprouts are germinated with the use of water (no soil) and are typically harvested in 4-6 days.
Microgreens are harvested after the first set of true leaves appears. In another post, I have discussed how sprouting is different.
Sprouts are defined as plants that have just sprouted their hypocotyl and the seed is still on the majority of the sprouts to be harvested.
Basic Supplies
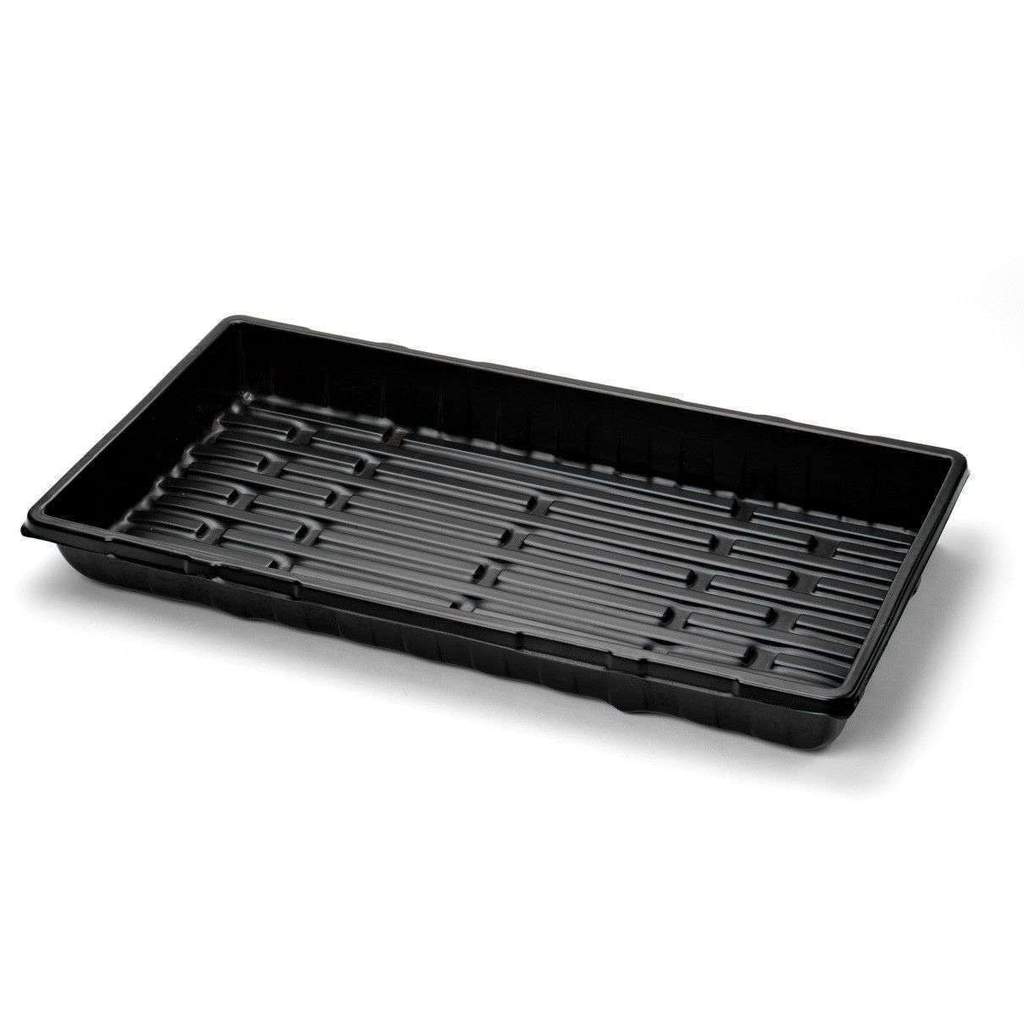
10″ x 20″ Trays (1020 Trays). One with drain holes, two without drain holes (black).
Quart glass jar
Mister spray bottle
5 gallon pail
Small mesh colander

Where to Buy Quality Supplies
Get Quality Supplies for Growing Microgreens HERE
Choose Organic Seeds
Start with seeds that are easiest to grow.
Broccoli, Kale, Arugula, Endive, Mustard, Red Clover
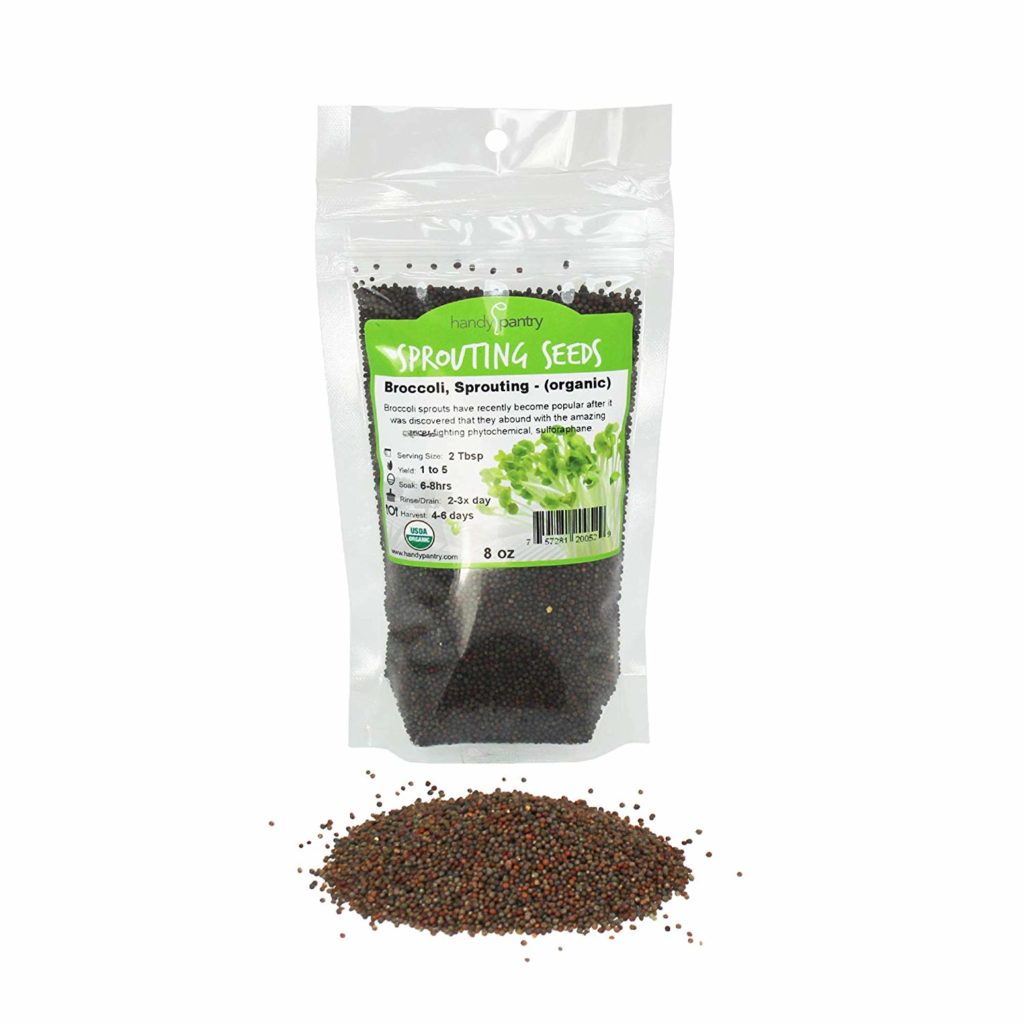
Here is a source for organic Broccoli Seeds.
Soak Seeds Overnight
- Use cold spring or filtered water (not tap) to fill a quart jar.
- Soak 1/4 cup broccoli seeds overnight or for 12-24 hrs.
- Put soaked seeds in colander drain, soak, rinse.
- Soaking speeds the germination time.
Prepare Trays with Coco Coir
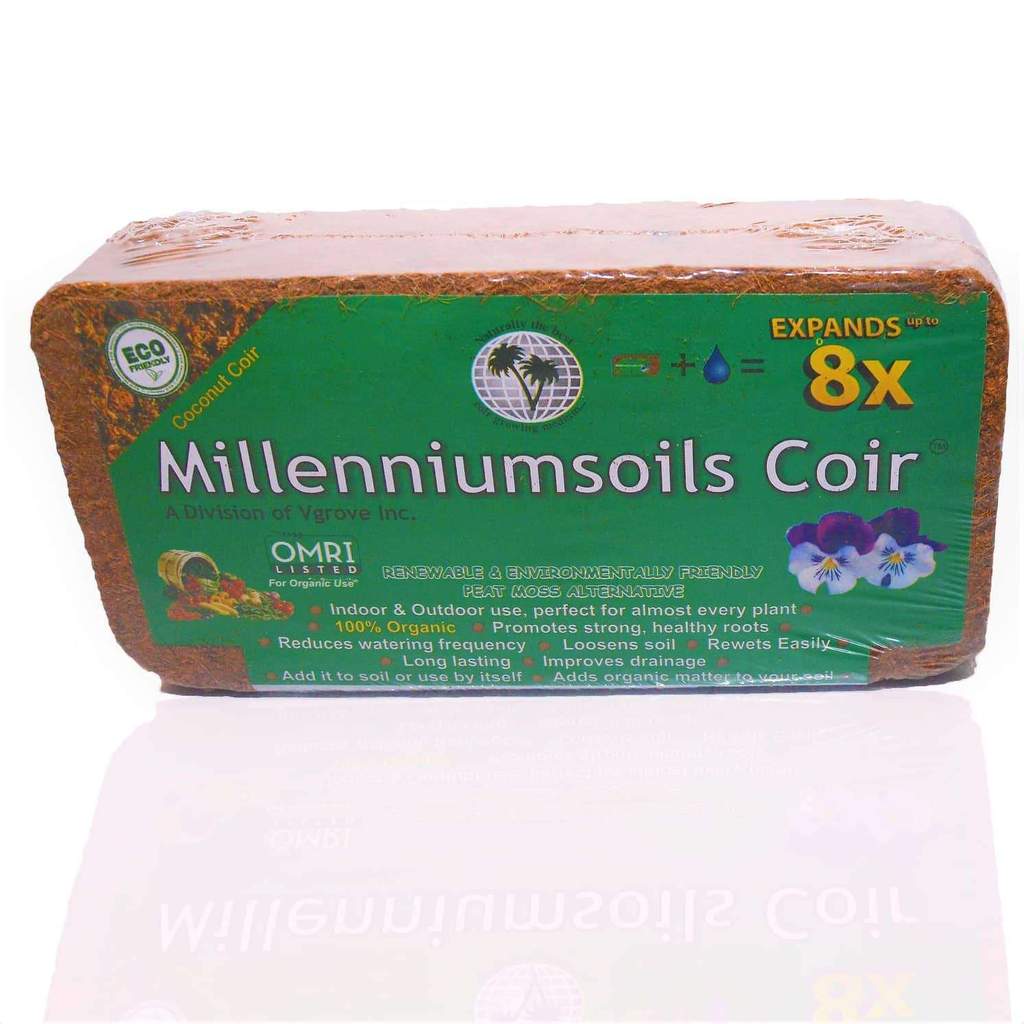
- Put 1 Coco Coir Brick in a 5-gallon pail. Add 5 quarts purified water. Let sit an hour or more.
- Break up the Coco Coir and mix to distribute moisture evenly.
- Add Coco Coir to a 1020 tray with drain holes.
- The depth of the Coco Coir should be 1 ½ ” – 2″ and press down lightly.
- Set the tray with drain holes into a tray without drain holes.
- Cover soil surface with soaked and drained broccoli seed.
- Press gently so base of seed has firm contact with Coco Coir.
- Thoroughly mist seed so it glistens.
- Cover with moistened paper towels.
- Mist the inside of a black 1020 tray and use as a dome to cover the tray with seeds (4-5 days).
- Check twice a day, removing paper towel after 2 days. Mist every 12 hours.
- Alternative: Use fine textured potting mix instead of Coco Coir.
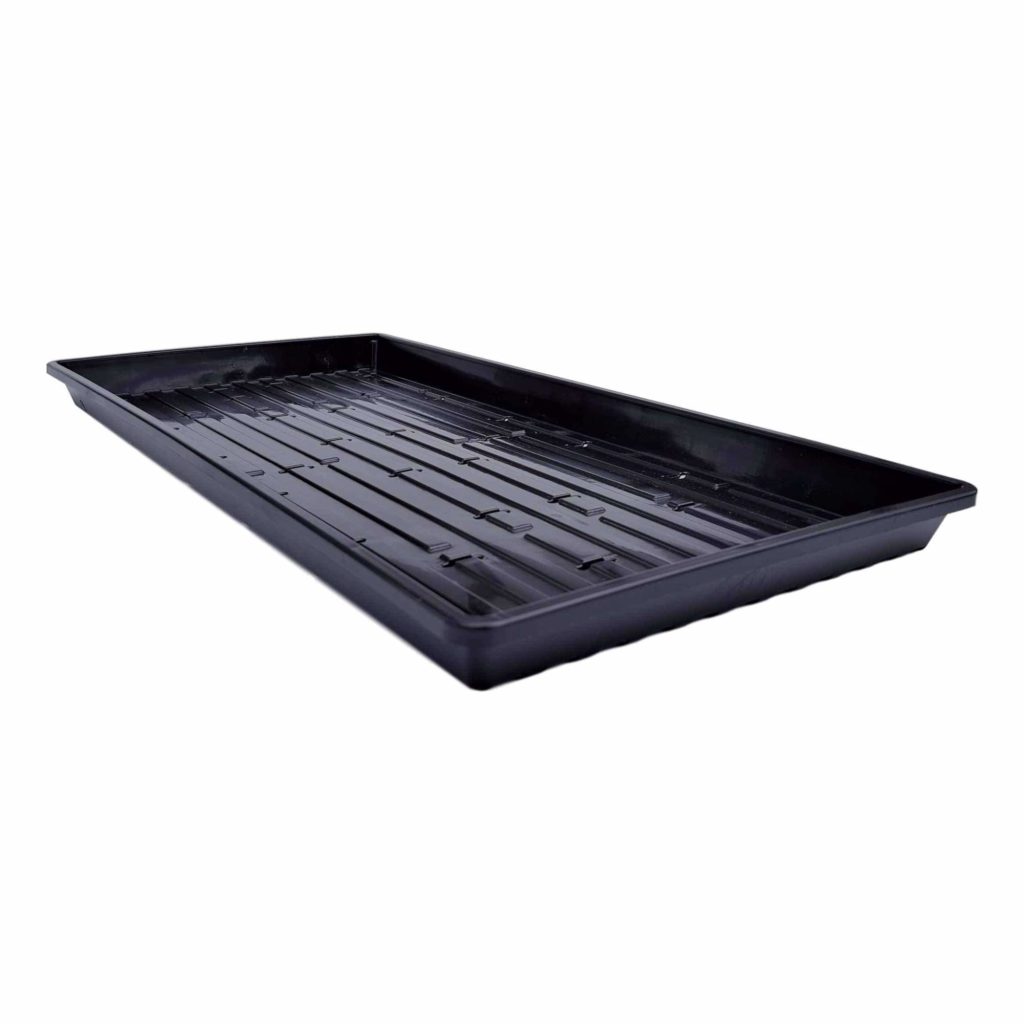
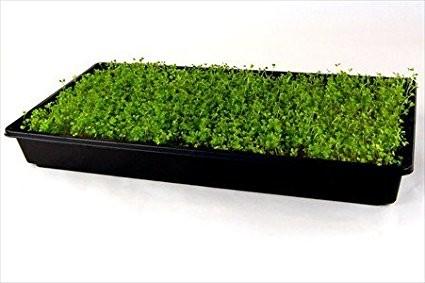
The shallow plastic microgreen tray height is 1¼”. This allows you to quickly and easily cut your microgreens as low as possible, which minimizes labor and maximizes your harvestable weight.
Excess water in your microgreen trays can lead to mold. These growing trays have 32 drainage holes to remove excess water while being small enough to hold in growing media.
What is Coco Coir?
- 1/3 cu. ft. sized bricks individually wrapped
- Approx. 5 x 10 x 20cm (2”x 4” x 8”)
Coco Coir is a soil-less media, derived from coconuts.
It is aged naturally and keeps moisture in.
It can be used by itself or mixed with other medias to improve the soil compaction & water retention.
Coco Coir is versatile, with uses ranging from hydroponics to baskets.
The Blackout Period
Management of lighting is very important with most microgreens, but pretty simple to manage. For some microgreens, it’s imperative to provide a ‘blackout’ period for the first few days.
Broccoli seeds need 4-5 day blackout period. They will germinate in 2-3 days but keep covered with the blackout dome. This will help maintain high humidity in and around the media to help your seeds germinate evenly. This period of imbibition (seeds swelling with water) is very important.
Misting the surface of the seeds, media, and dome accelerates the rate of germination and consistency of germination rate (which is very important come harvest).
Basic Blackout Dome uses an empty black 1020 tray flipped over on top of the seeded tray. Keep the lid moist, mist the seed and media twice a day, maintain a high humidity environment.
Remove the Blackout Dome
After 4-5 days, the crop is ready to accept light. In some crops, you can strengthen the roots by flipping the blackout dome over and setting it right on top of the emerging crop for a day.
Get Quality Trays for Growing Microgreens HERELighting
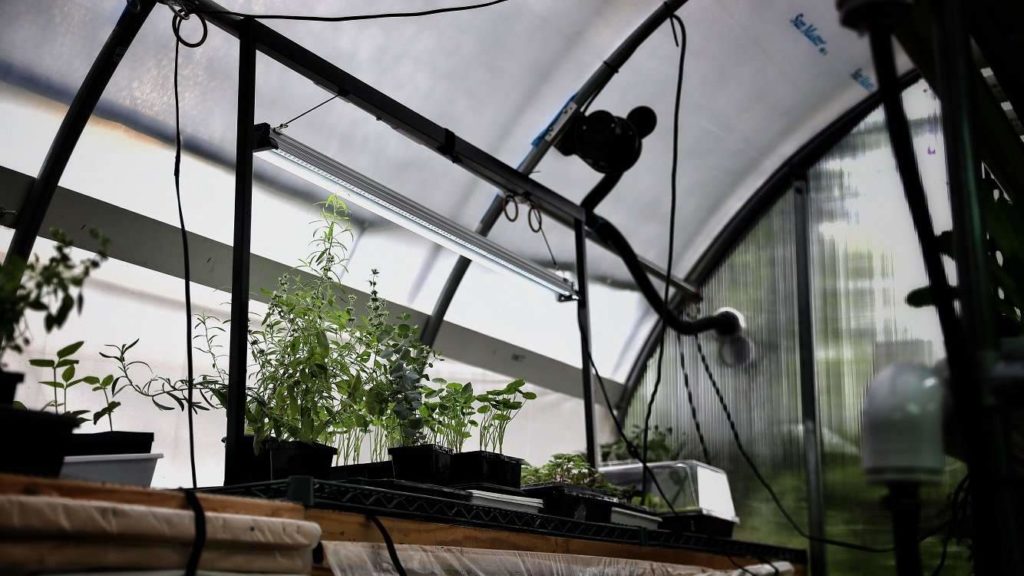
LED STRIP GROW LIGHTS – 48″
Daisy chain up to 7 grow lights through a single power cord for seamless expansion of your growing area. They can be mounted vertically or horizontally to handle different growing environments.
If the room in which you’re growing the microgreens has good sunlight, you may need a minimal amount of supplemental light.
For me, Broccoli Microgreens are grown indoors near a south facing window and that is plenty of light for a single tray. Read up on the crop you’re choosing to grow to see what light requirements the seedlings will need.
You only need to get the crop beginning to make true leaves. If the emerging crop is ‘leggy’ it needs more light.
For the beginner, use what you have around the house, shop lights, clamp on’s with LED bulbs in combination with incandescent light, pay attention to your plants, and they’ll tell you how you’re doing. You can always get fancy grow lights later, just keep it simple in the beginning.
Get Lighting for Growing Microgreens HERETemperature
Most microgreens prefer a room temperature of about 70°.
When and How to Water
“Keep it moist” – is a good rule of thumb from seed to emergence. Using a mister allows you to accomplish this. Coco coir is nice because the medium doesn’t splash like soil does. If you are using soil, keep it off the leaves.
Water the Coco Coir. Broccoli micrograms want enough water, but not too much. You can add water to the bottom tray so that the water will move up through the soil via capillary action. Let the tray of water sit under the plants for and hour or two, then remove.
You may still need to mist over the top of the soil to keep the seed zone moist, but once the crop starts to root, it’s surprising how deep they will go for water.
Repeat the bottom-watering and misting regularly to keep the coco coir moist but not wet.
Watering a Hydroponic Pad
If you are using a hydroponic pad instead of Coco Coir, this media is added to a tray without holes. Lift the pad, pour in water enough to come to the tops of the ridges in the bottom of the tray, make sure it’s distributed across the entire tray (front to back and side to side) and that’s it!
You’ll find that you’ll water more as the roots develop so as to always keep the media moist. (Some soil crops like a bit drier soil surface so refer to the recommendations that come with the seed.)
Get Hydroponic Pads for Growing Microgreens HEREHarvesting Microgreens
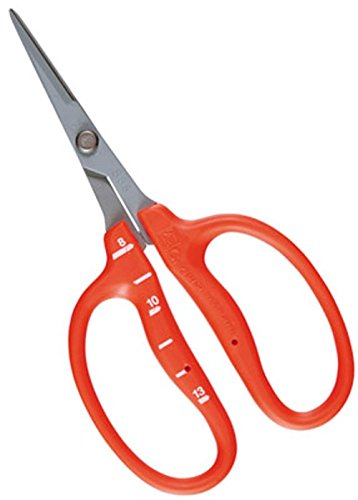
Broccoli microgreens will be ready to harvest in about 8-12 days, total. Harvesting your microgreens is pretty simple. Use a sharp pair of scissors that can cut as close to the growing media as possible. With some greens, you can just pull them out of the media and trim off the roots and seeds at the base.
How to Clean Harvested Microgreens
Lay the freshly trimmed microgreens on a damp paper towel on a tray. Dip the microgreens in cool (not icy) water. Place them on a clean, damp paper towel loosely, not packed. Work quickly to get them in the refrigerator as soon as possible.
How to Store Microgreens
Keep microgreens between damp paper towels, in a glass container. Microgreens will last in the fridge for about 7 days. To prevent wilting, keep greens covered and refrigerated until you are ready to add them to your salad, smoothie, or other dish.
Use a Salad Spinner
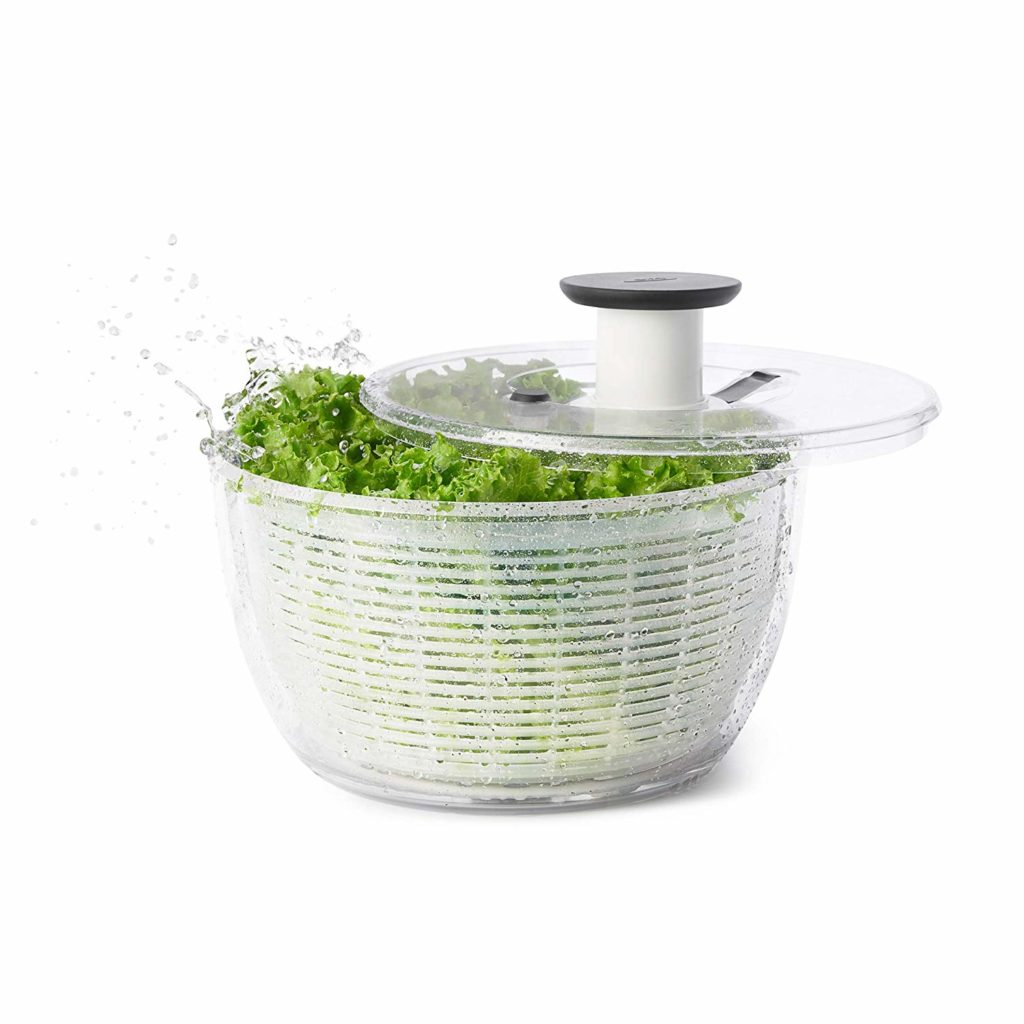
It’s good to have a salad spinner to remove as much moisture as possible when washing, then lay out on paper towels to air dry for a bit. Handle microgreens as gingerly as possible so they don’t become damaged and mushy.
Nutrients in Broccoli Microgreens
Microgreens are a dense source of nutrition. A study published in Frontiers in Nutrition found,
Regardless of how they were grown, microgreens had larger quantities of Mg, Mn, Cu, and Zn than the vegetable. However, compost-grown (C) microgreens had higher P, K, Mg, Mn, Zn, Fe, Ca, Na, and Cu concentrations than the vegetable.
Weber CF. Broccoli Microgreens: A Mineral-Rich Crop That Can Diversify Food Systems. Front Nutr. 2017;4:7. Published 2017 Mar 23. doi:10.3389/fnut.2017.00007
Protect against cancer, eat broccoli sprouts.
While we often believe that the nutrition data on broccoli sprouts is new, a 1997 study reported positive findings over 20 years ago.
Large quantities of inducers of enzymes that protect against carcinogens can be delivered in the diet by small quantities of young crucifer sprouts (e.g., 3-day-old broccoli sprouts) that contain as much inducer activity as 10–100 times larger quantities of mature vegetables.
Fahey JW, Zhang Y, Talalay P. Broccoli sprouts: an exceptionally rich source of inducers of enzymes that protect against chemical carcinogens. Proc Natl Acad Sci U S A. 1997;94(19):10367–10372. doi:10.1073/pnas.94.19.10367
This study showed 20 years ago that the beneficial activity is from glucoraphanin (the glucosinolate of sulforaphane). It protects against cancer because it causes a chain reaction that in the end increases glutathione levels.
Sulforaphane and Glucoraphanin
“The two compounds in broccoli and particularly broccoli sprouts that have the most protective effect against oxidative damage are glucoraphanin and sulforaphane, collectively called glucosinolates.
Sulforaphane is responsible for many of the benefits of broccoli sprouts.” source
- Supports cell health throughout your body
- Supports your body’s detoxification processes
- Helps protect cells, tissues and DNA from free radical oxidative damage
- Supports healthy normal cholesterol levels
- Supports gut health and a healthy gut microbial balance
- Supports healthy joint cartilage and comfortable movement
- Supports bladder health
- Supports prostate health
The role of dietary antioxidants in Broccoli sprouts as functional foods in the management of human diseases (source)
- Sulforaphane improves the liver’s ability to detoxify (Phase II detoxification) carcinogens and other toxic compounds. Sulphoraphane also kills cancer stem cells which slows tumour growth.
- Sulphoraphane has anti-diabetic and anti-microbial properties.
- Support for healthy ageing, by facilitating the defence of normal cellular function against external threats to health that are encountered every day.
- Sulforaphane is the most potent activator of the cellular ‘switch’ Nrf2, described as the ‘master regulator’ of cell defences,responsible prevention and treatment of many common diseases.
- One of the most promising and remarkable studies involving sulforaphane revealed its potential in treating Autism Spectrum Disorder (ASD); Suplphorafane ‘protects aerobic cells against oxidative stress, inflammation, and DNA-damage’.
- Sulforaphane has shown to reverse damage to blood vessels by addressing endothelial dysfunction which can lead to calcification of the smooth muscle lining blood vessels and formation of arterial plaque in the heart and vessels.
- Improve gut health: Sulforaphanes been shown to destroy the H. Pylori bacterium, at the same time controlling inflammation in -the stomach lining.
Now, let’s go! Grow Broccoli Microgreens!
Recommended
-

IpriflavoneMarch 29th, 2025
-

How to Make Bone Broth – Chicken Bone BrothMarch 11th, 2025
-

GABA Reduces Stress and Enhances SleepMarch 6th, 2025
-

Boron’s Role in Hormones, Inflammation, Bones, Teeth, Memory, Immune function and Cancer ReductionMarch 3rd, 2025
-
What is CBD? How does it support health?February 17th, 2025